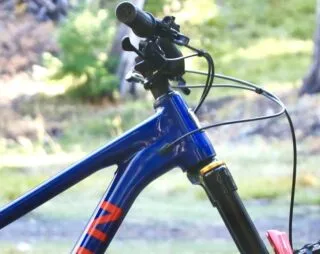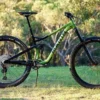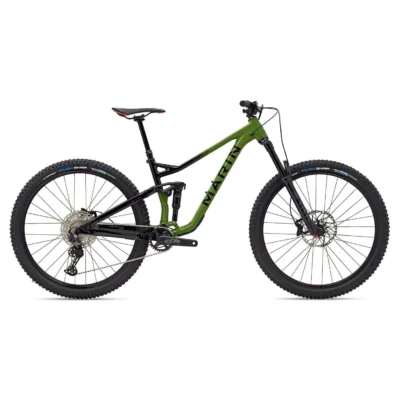
Marin Alpine Trail 7 29″ Mountain Bike Green
£2,579.13

Free Delivery
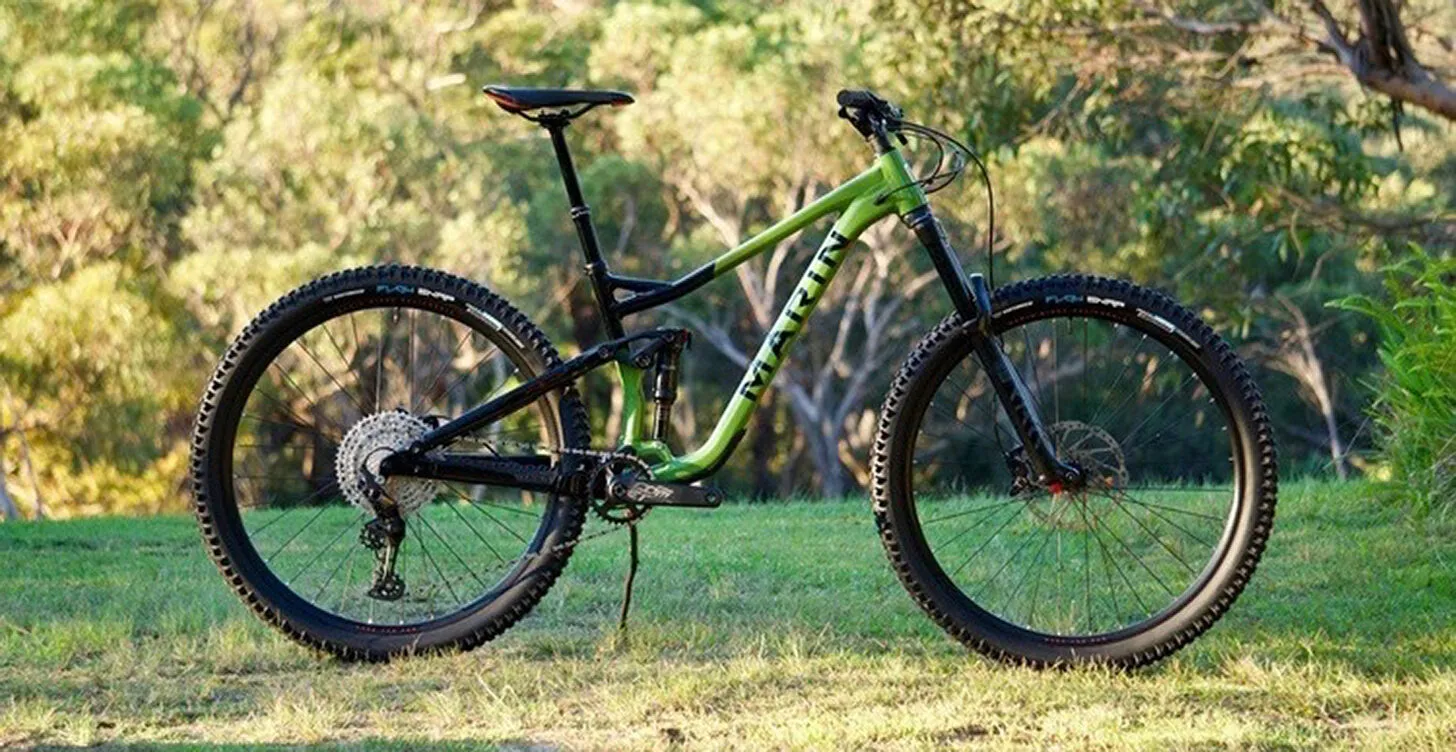
Yay! This item qualifies for Free Delivery, add to cart now!Big All-Mountain Days Where Travel and Geometry Matter Most. Built for Abuse and Rowdy Riding. Enduro-Style Riding and Racing. Big Bike, Big Wheels, Big Fun The Alpine Trail Is a 29” Wheeled Suspension Bike Built for The All Day Enduro Rider that Earns Their Downhill Fun.
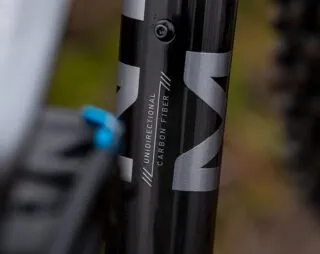
Unidirectional Carbon Fiber Frame
Alpine Trail Carbon 1 and 2 models feature high-modulus carbon fibre and monocoque construction to deliver the strongest and stiffest Alpine Trail to date.
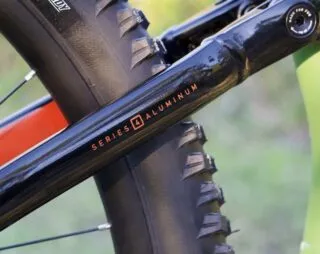
Series 4 Aluminum Frame
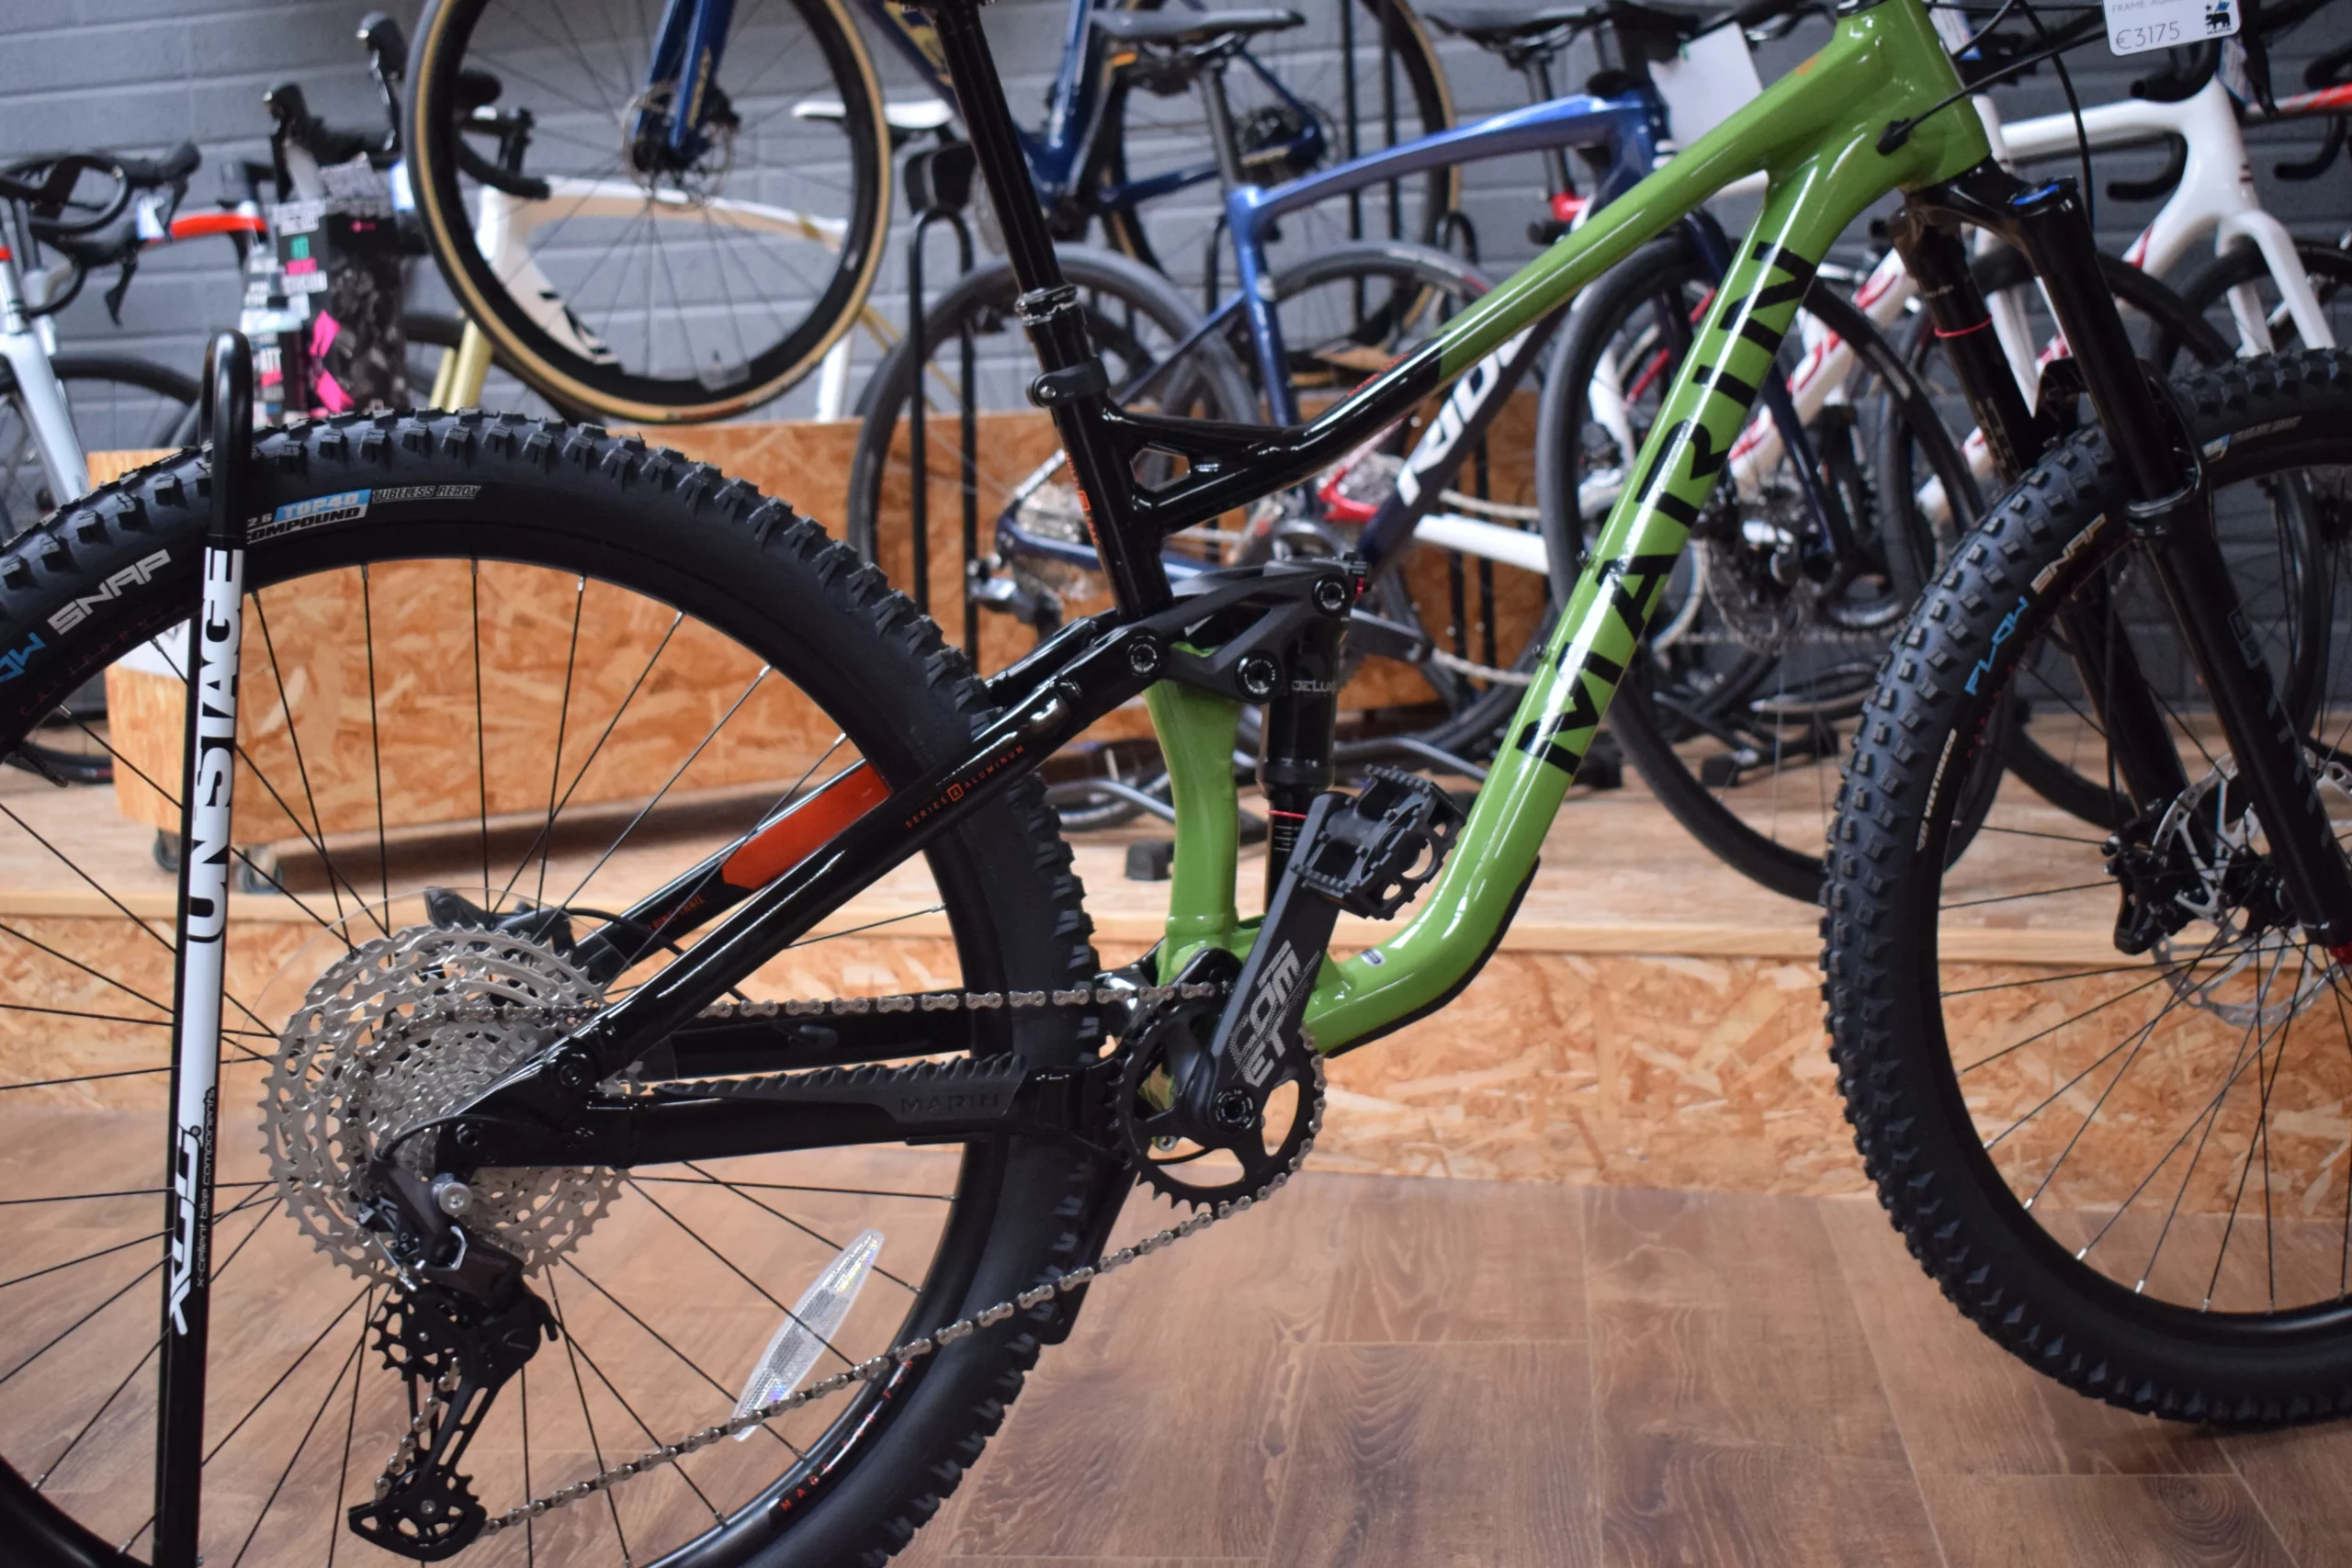
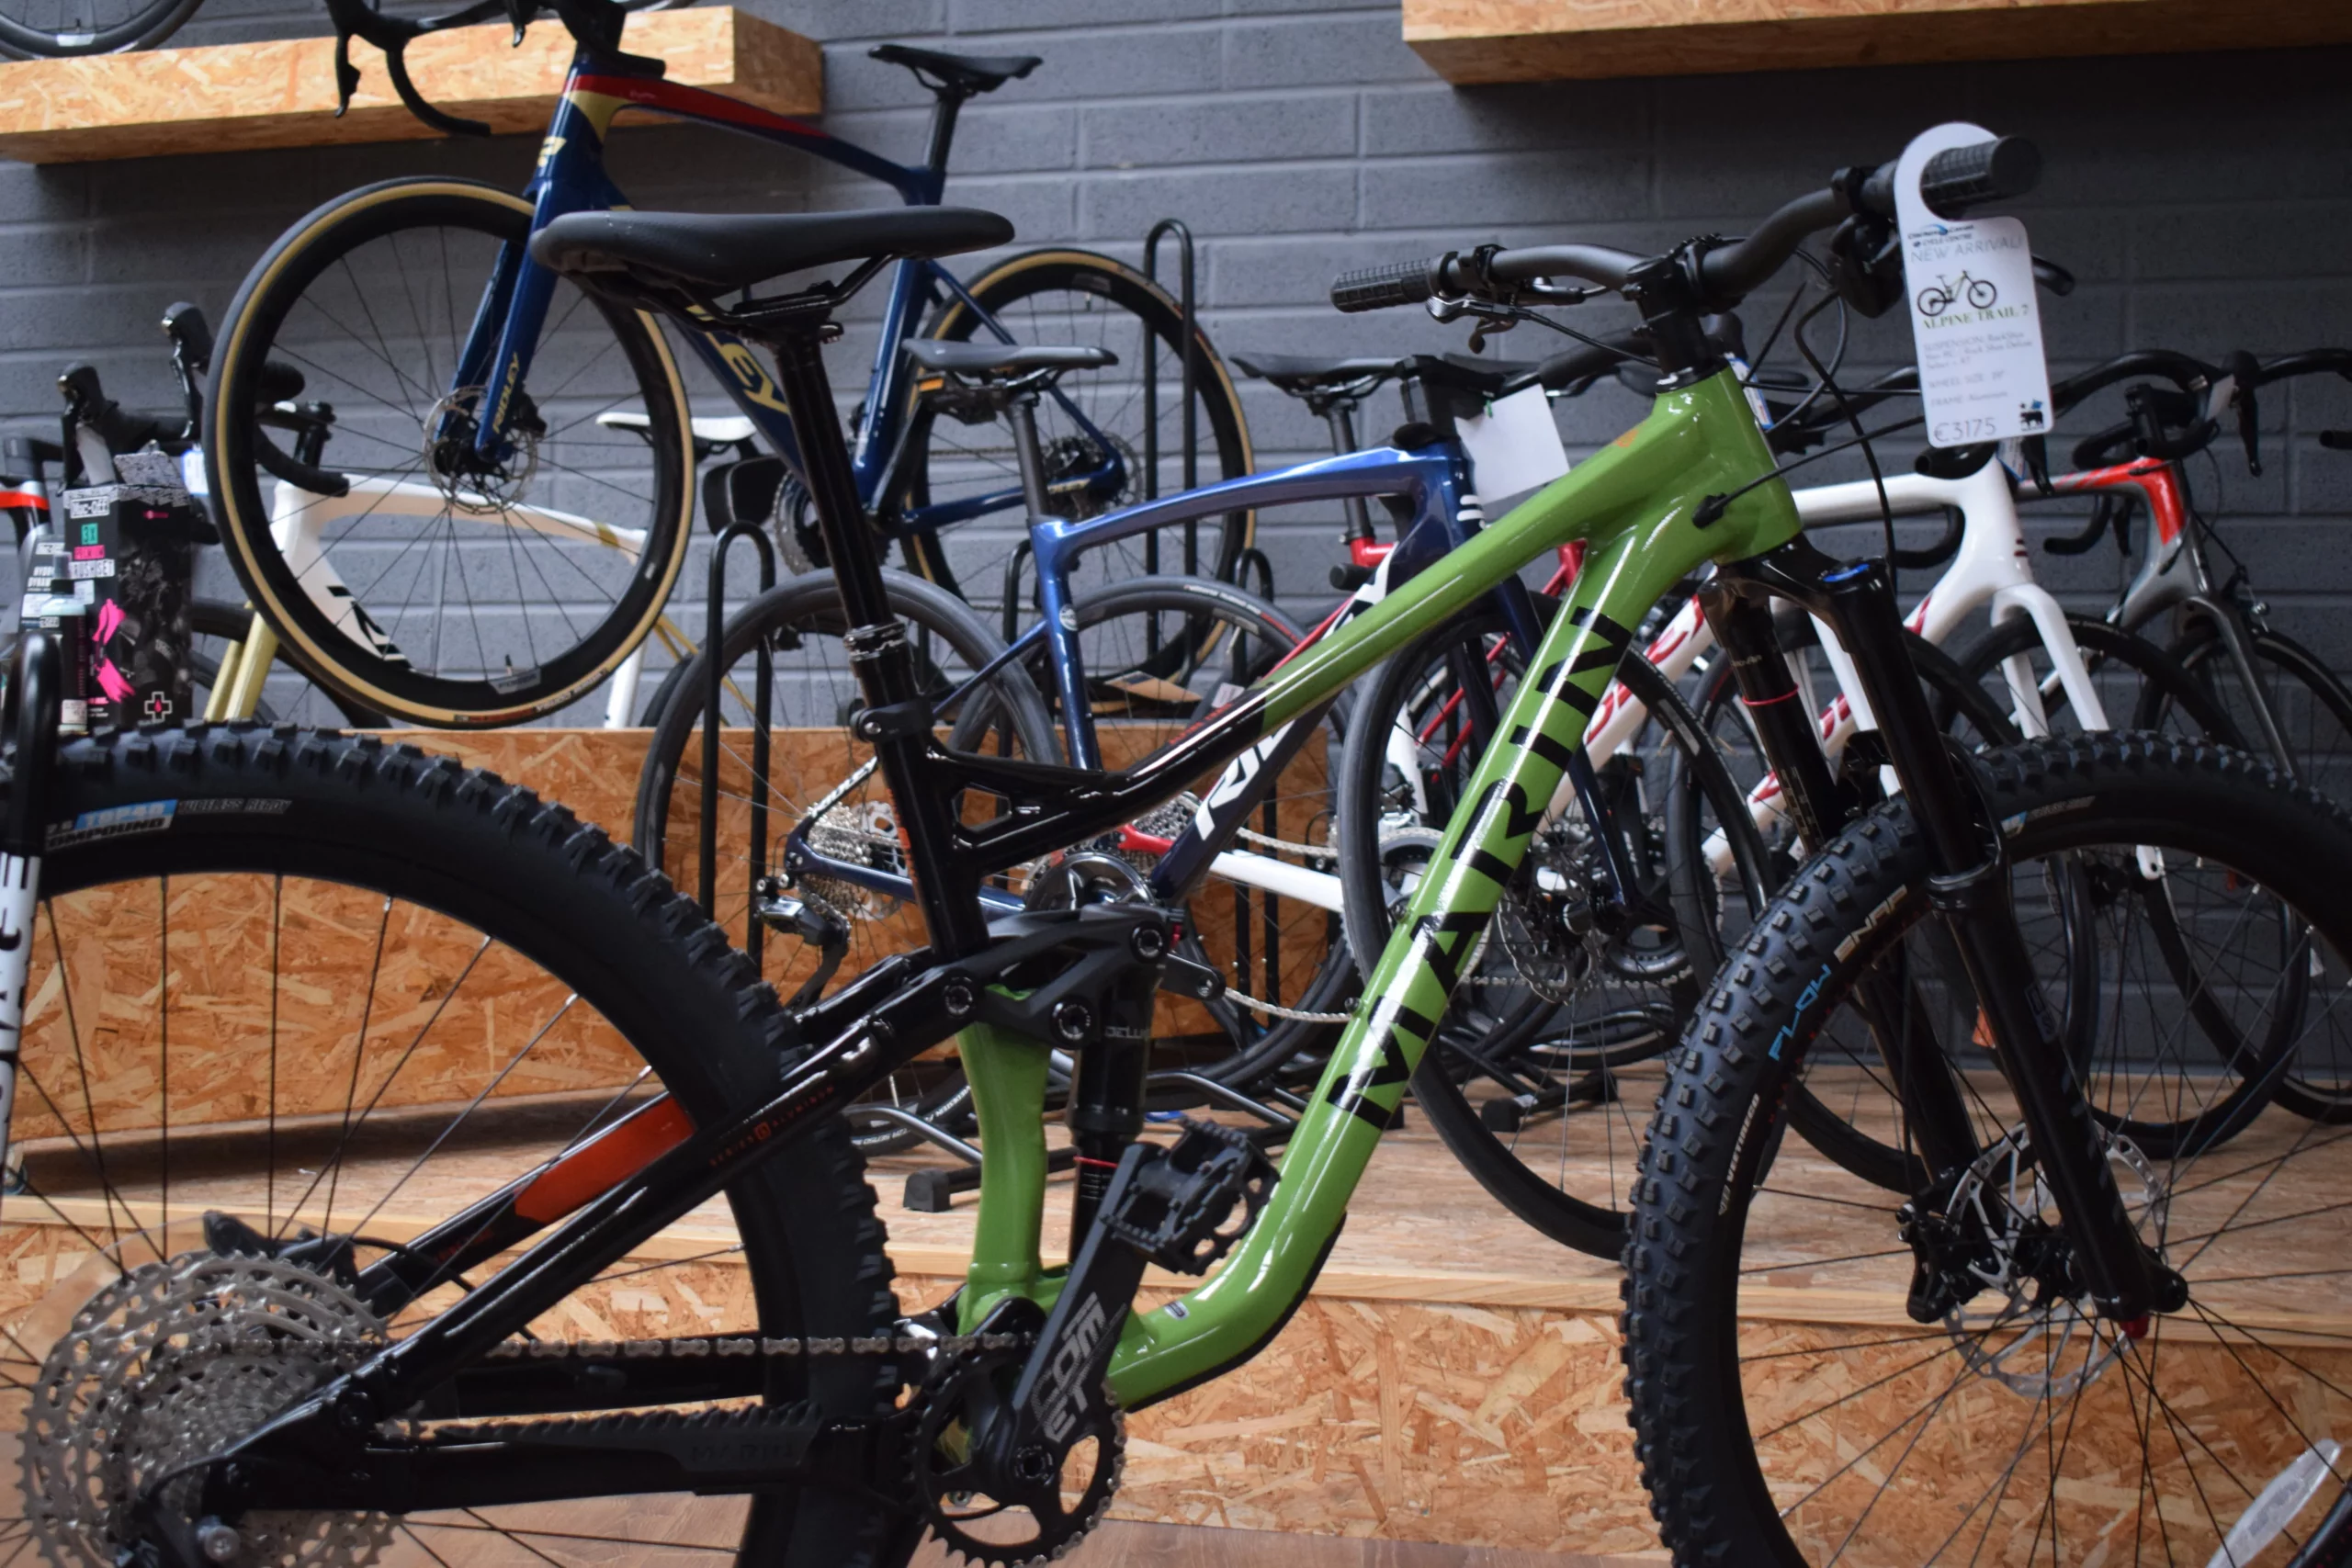
Alpine Trail models feature Series 4 aluminium frames, with detailed forgings, highly manipulated tubes, and full internal cable routing, giving the rider the highest-end alloy frame that Marin offers.
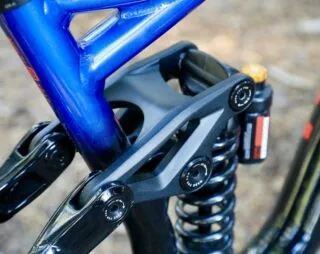
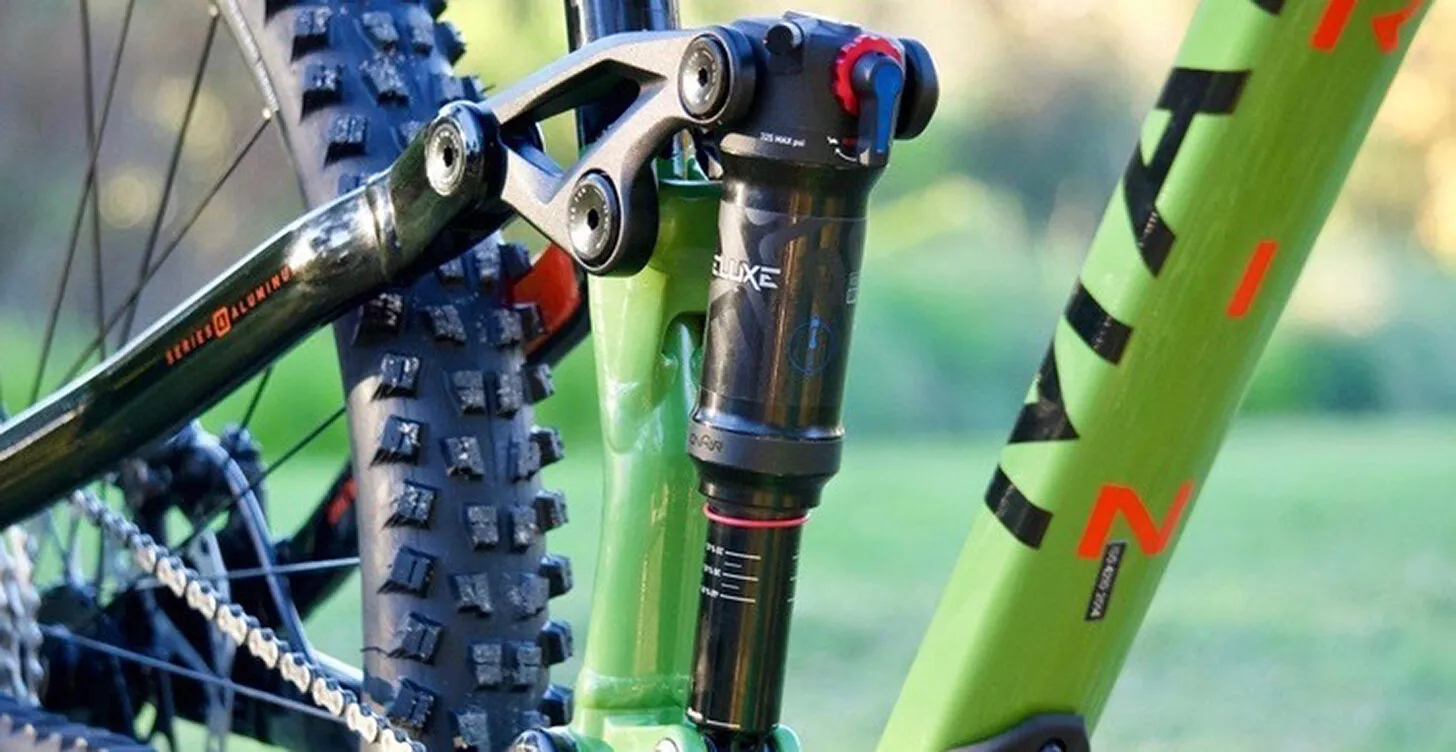
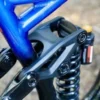
One Piece Forged Rocker
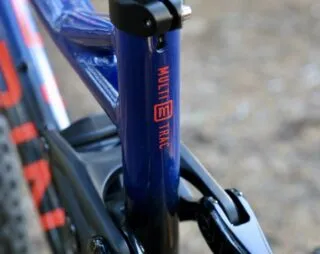
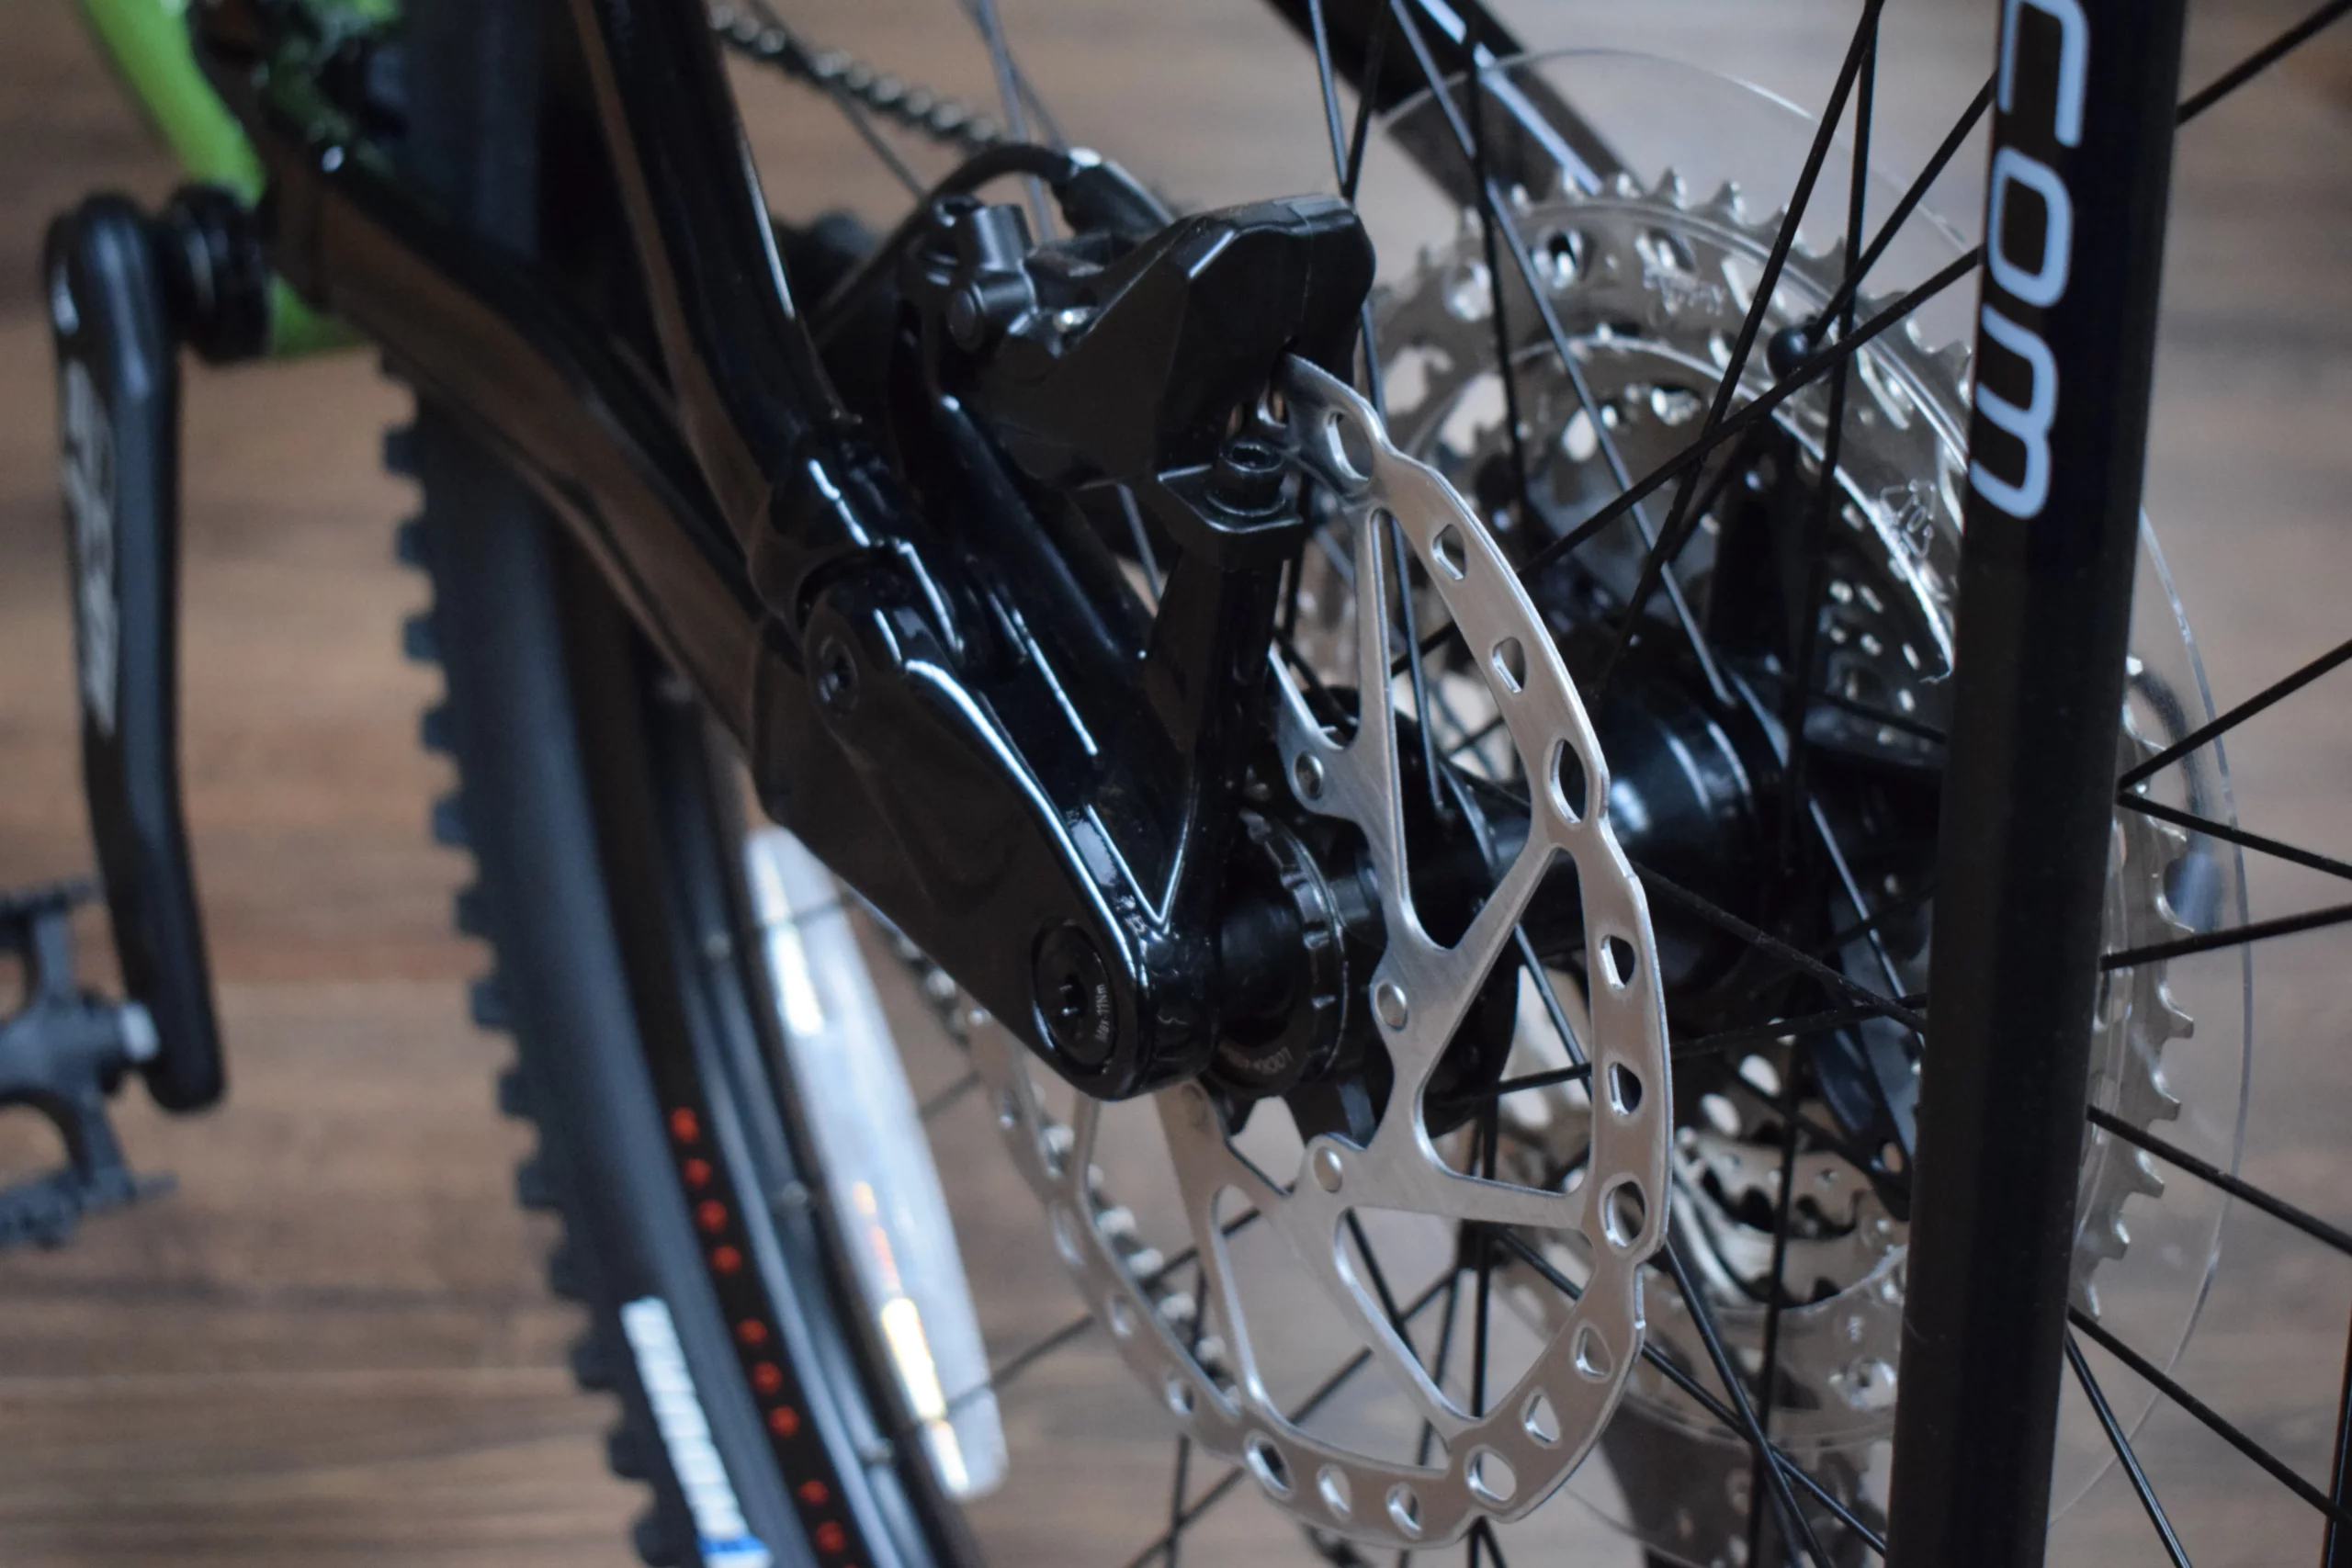
The heart of the Alpine Trail’s MultiTrac suspension is the forged one-piece rocker link. The strength and stiffness of the rocker keep the rear of the bike tracking straight, providing smooth suspension operation under the most demanding conditions.
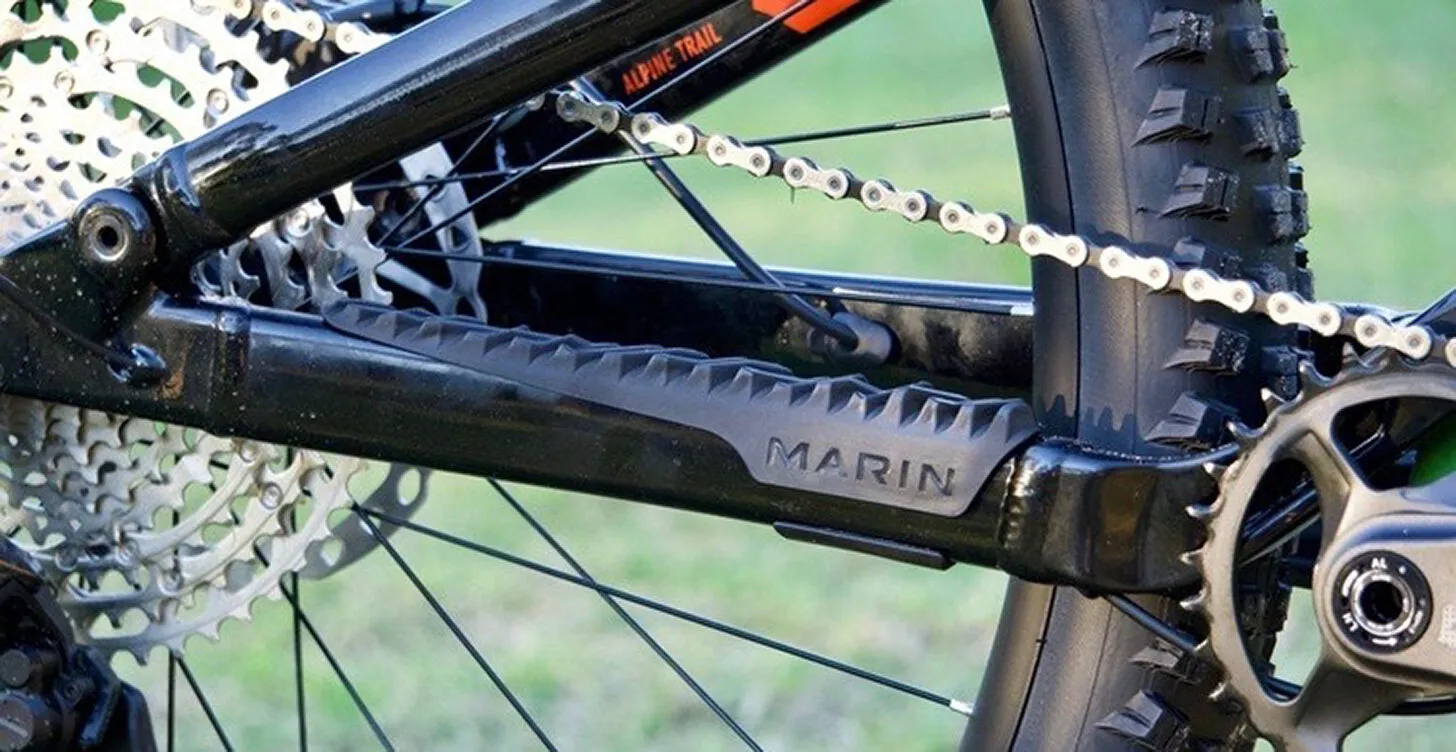
Bridgeless Seatstay
The stiffness of the one-piece rocker link allows for a bridgeless seat stay design, offering zero compromises on stiffness while at the same time allowing for maximum tire clearance and short chainstays.
Modern Angles
The Alpine Trail has a slack 63.5º head tube angle paired with a steep 78º seat tube angle and long reach to provide the best modern trail bike experience. The bike lets you climb better than ever before while giving you even more confidence when descending.
Suspension Setup
Rear Shock Setup
Recommended Sag = 30%/19.5mm
Step 1: Set the correct pressure in the rear shock.
Step 2: Sit on the bike and cycle the suspension (*with the correct riding gear).
Step 3: Reset the O-ring and sit on the bike, DO NOT BOUNCE, carefully step off.
Step 4: Measure sag (from o-ring to seal of shock), If it does not match the bike’s recommended sag in millimetres repeat process.
Step 5: Adjust the rebound setting to ensure proper control.
Fork Set up
Marin recommends that all bikes' front and rear suspension feel balanced
Step 1: After the rear sag is set follow the recommended pressure from the fork manufacturer.
Step 2: Bounce evenly up and down on the bike, cycling the suspension up and down to make sure both front and rear suspension feel balanced, if the front does not match the rear add or release pressure.
Step 3: Once the bike feels balanced adjust the rebound damping to ensure proper control.
| Brand |
|---|
No Custom Charges to UK, Guaranteed!
We send all our parcels and pallets from the UK to the UK with Royal Mail and DSV so you can rest assure you will not receive any extra charges once your parcel arrives.
Delivery Cost(s)
Free delivery on orders over £99 applies in most cases, where a product is excluded from this it will be noted on the product page. Some items are large and cannot be sent for free. Delivery charges may differ.
Pallet Delivery
Please note: Some items require pallet delivery due to its weight and dimensions. While we strive to maintain a standard delivery cost, additional charges may apply for deliveries to remote locations. We appreciate your understanding and will contact you to confirm any additional costs before proceeding with your order. For more details on shipping and delivery, please visit our Shipping info page or contact our customer service team.
Delivery & Tracking
We send all our parcels with Royal Mail Tracked 48, you will receive a tracking number to your email once the order is dispatched. For larger pallet items we use DSV, you will receive a reference number and information on pallet delivery. Some items we sell will take more time because of size and dispatch location.
Need Help Regarding Delivery
If you still need further assistance regarding your delivery please contact the online department at 049 433 2166 or via email at [email protected]
Related products
Cycle Centre
Cycle Centre
Cycle Centre
Cycle Centre
Cycle Centre
Cycle Centre
Cycle Centre

 Garden Care
 Garden Decor
 Garden Hand Tools
 Garden Power Tools
 Garden Sheds & Storage
 Lawnmowers
 Bikes
Bikes Bike Accessories
 Bike Clothing & Safety
 Brakes & Pedals
 Clothing & Shoes
 Drivetrain
 E-Bikes & Scooters
 Exercise & Training
 Finishing
 Frames & Forks
 Nutrition
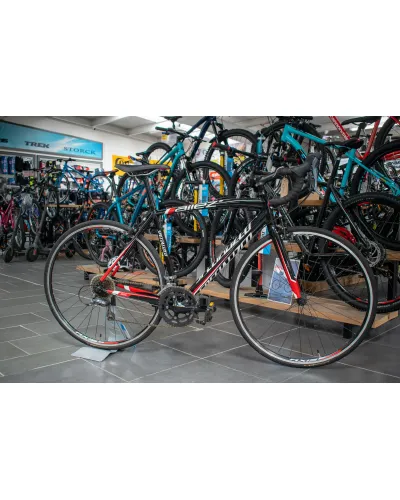 Pre Loved Bikes
 Service Hub
 Wheels, Tyres & Tubes
 Pedal & Ride On Toys
 Killbran Metal Toys
 Electric Ride Ons
 Scooters & 3 Wheelers
 Small Farm Toys
 Go-Karts & Accessories
 Kids Bikes
 Kids Clothing
 Kids Outdoor Toys
 Model Tractors & Attachments
 More Kids Toys
 Air Tools & Compressors
 Automotive
 Electrical & Lighting
 Generators
 Hand Tools
 Home & Household
 Ironmongery
 Oils & Lubricants
 Painting & Decorating
 Power Tool Attachments
 Power Tools
 Pressure Washers
 Screws, Bolts & Fixings
 Security
 Sprays, Adhesives & Sealants
 Tool Storage & Handling
 Husqvarna
 Mascot Workwear
 Other Brands
 Regatta
 Snickers
 Automower Parts
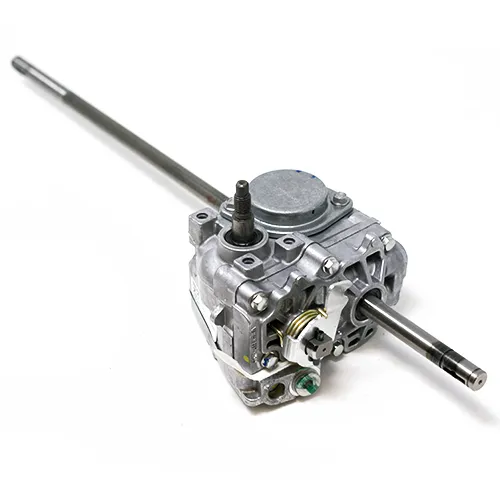 Lawnmower Parts
 Quad Parts
 Robot Mower Parts
 Sprayer Pumps & Parts
 Electrics & Trailer and Work Lighting
 Electrics & Trailer Lighting
 Farm Implements
 Farm Supplies
 Fencing Equipment
 Hydraulics
 Kubota Tractor & RTV Parts
 PTO
PTO Quad Attachments & Parts
 Quad Parts & Attachments
 Slings & Straps
 Tractor Paint
 Tractor Parts & Fluids
 Trailer Parts & Spares

